PEAK - Full Basic Guide
PEAK - Full Basic Guide
Welcome explorers! In this guide you will find useful information about PEAK and how it works.
I'll be adding more content as I discover new things ingame or answering questions in the comment section. If you are missing information or something is wrong in this guide let me know in the comments below.
Remember that if you have questions or want to find people to play you can join the Official PEAK Discord

Remember to rate this guide if it has been useful for you. Thank you!
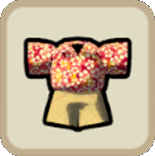
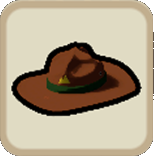
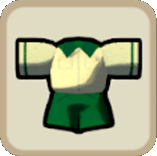
Customization
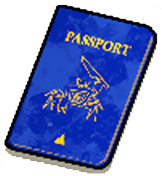
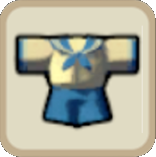
To customize your character, you'll receive an item called the "Passport". This item is given to you in the lobby and allows you to customize your character's appearance.
At the beginning of the game, not all items will be available. But don't worry, as you earn badges (achievements), you will unlock new cosmetics.

As a fun detail, these badges are displayed on your scout sash, which is visible to other players.
Basic Mechanics
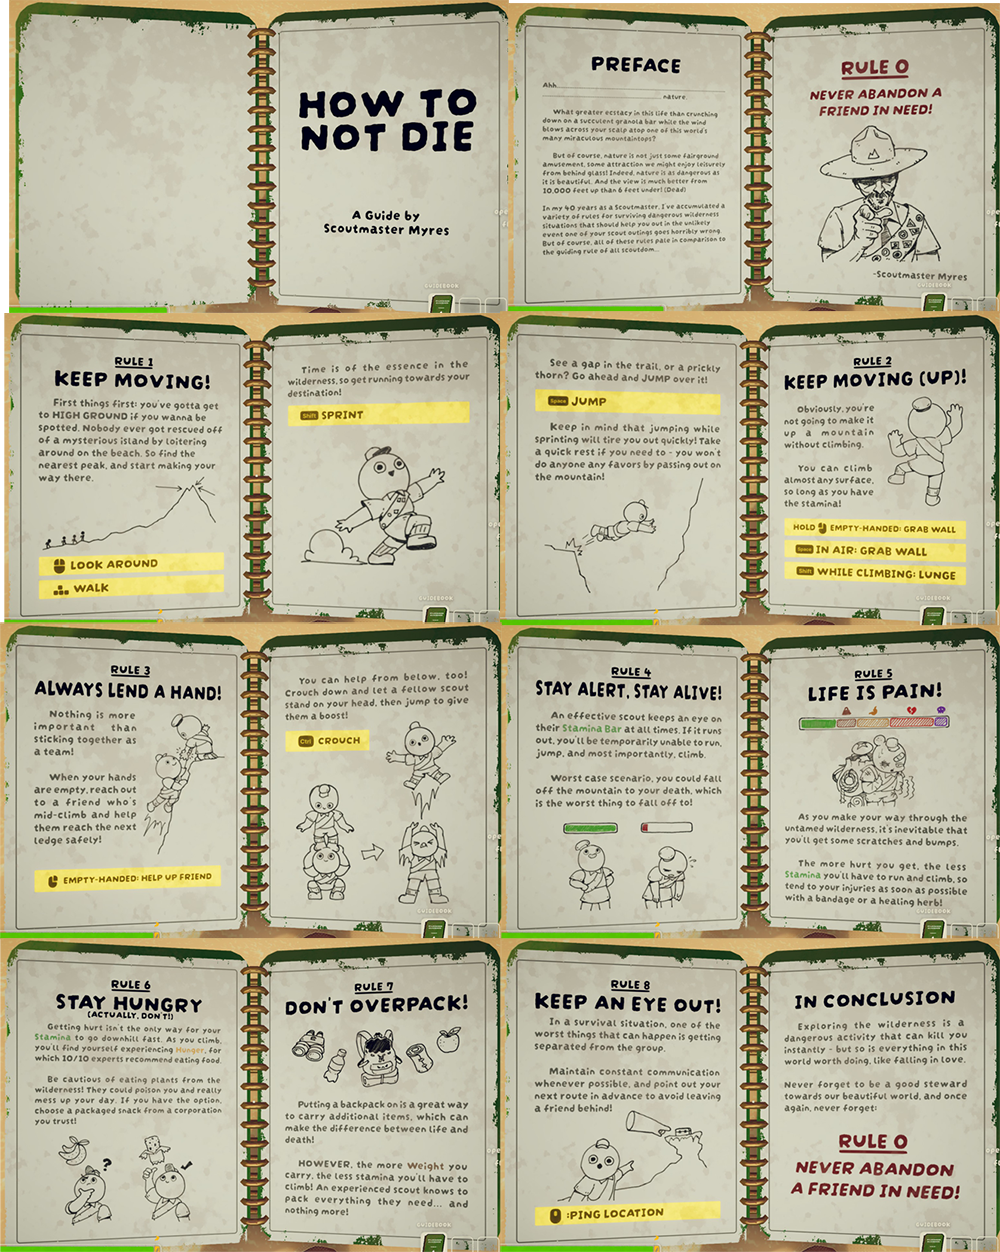
Basic MechanicsPEAK is a cooperative climbing game where communication, coordination, and stamina management are key to reaching the PEAK. This are the core mechanics you should know (though you can learn most of the basic things from the guidebook you'll find on the first map, near the plane):
- Climbing: Hold down the grab button (usually LMB) to cling onto walls. Releasing the grab button causes you to fall, you will also fall if you run out of stamina, so be careful.
- Grab Teammates:You can assist your teammates by grabbing them with right-click when they are climbing below you. This allows you to pull them up and save them from falling, especially in tough spots or when they're low on stamina.
- Stamina: Actions like climbing, sprinting and jumping consume stamina. If you run out of stamina while climbing, you'll lose grip and fall. Rest at safe spots to recover. Keep in mind that you always have a small boost by pressing Shift, so you can use it to reach upward if you're very close and have run out of stamina.
- Jumping and Boosting: You can jump between ledges or get a boost from a teammate, to do this, climb onto their head while they're crouching, then they jump to boost you up, allowing you to reach distant grips.
- Items and Resources: Collect food to restore stamina, ropes and pitons to assist with climbing, and other interesting items that will be helpful throughout your adventure.
- Communication: Teamwork is very important in this game. Use voice chat or pings (middle mouse button) to coordinate climbs, set anchor points, and warn others of upcoming dangers. Or simply laugh as you listen to your friend falling into the abyss.
Energy bar and Status effects
One of the challenges in PEAK, besides reaching the summit, is managing your energy bar effectively. This bar regenerates over time, but its maximum capacity can be reduced by various negative effects you accumulate during your climb.
These status effects can be cured by using certain items, resting, and so on.
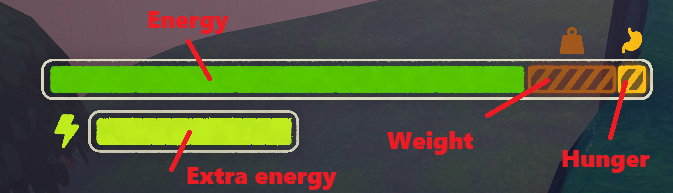
As you can see in the image:
- The green bar is your stamina. It's used for climbing, sprinting, jumping, and other actions.
- The yellow bar is extra stamina. It depletes when your main (green) stamina runs out and can save you in risky situations. This bar does not regenerate over time.
- The brown bar represents your carried weight. The more weight you carry, the more it reduces your maximum stamina.
- The light orange bar is your hunger. It gradually increases over time.
Different effects can reduce the bar, as explained below. Their total will reduce it from the right side of the bar.
Biomes
The game has 5 biomes:
- Shore
- The first and starting area of the game.
- A calm coastline with easy rocks to climb and minor hazards like poisonous jellyfish.
- Perfect for learning the basic mechanics.
- There's no timer or rush in this area, so you can take your time and look around for luggage and food.
- You'll find a small guide book that will walk you through the controls and basic mechanics of the game. - Tropics
- The second area of the game.
- A dense and humid jungle.
- Introduces new mechanics like vine swinging, plant-based traps, and rain.
- It rains from time to time, which makes climbing harder. The best thing you can do when it starts raining is wait until it stops.
- You can also use vines to help you climb, but be careful, they consume stamina too. - Alpine
- The third area of the game.
- A snowy and dangerous mountain.
- Ice reduces your grip and increases frost buildup.
- Strong winds push players around and force you to find sources of warmth. They come from random directions, so move to a safe spot before you freeze.
- In this area, you can find chains (similar to vines in the Tropics) and random pitons already placed on the walls. - Caldera
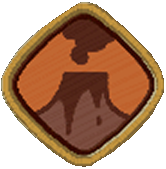
- The fourth area of the game.
- A volcanic region filled with lava.
- There are lava tides triggered by small eruptions. If you're standing in those areas when it happens, you'll get burned.
- Some spots are slightly highlighted in orange, this indicates they'll ignite soon, so try to avoid them.
- You can also find chains in this area. - Kiln
- The fifth area of the game.
- The final level inside the volcano, a brutal vertical ascent surrounded by lava.
- This is the hardest area in the game. You need to plan your route carefully before climbing, or you'll get lost.
- Getting burned is very common here (like in Caldera), so try to save some healing or protective items for this area. - PEAK
- The final zone. The goal, the end, the PEAK.
Backpack
The backpack is an essential item in the game. It allows you to carry 4 additional items, although their weight still counts toward your total load.

To add or remove items from the backpack, you need to place it on the ground, which can be risky if it slips and falls down the mountain. When playing in co-op, you can also open the backpack that other players are carrying on their back.

You can find a backpack at each checkpoint (and in the starting area), except in the final biome.
Bridges
You will encounter these structures for the first time in the Shore biome. They are great for crossing from one side to the other, but they come with a risk.
Bridges can break, when this is about to happen, the bridge will start shaking until it collapses. Usually, a single player won't cause it to break, but the more players cross at the same time, the higher the chance of collapse.
Revive System
There are two states you can be in: "Unconscious" or "Dead".
If you stay unconscious for too long without a teammate helping you, you'll eventually die.
First, you need to find where your friend went down, this can be a bit tricky sometimes.
Once you find them, try to figure out what caused them to fall.
- If they went down due to brute damage or poison, you'll need to use a bandage or a medkit.
- If it was due to hunger or exhaustion, then you'll have to give them food.
If you use a medkit and they don't wake up, try giving them some food instead.
If you carry your unconscious friend on your back, their "death meter" will temporarily stop decreasing. This gives you more time to find help or the right item to revive them.
If you didn't find your friend in time, their body will turn into a skeleton, and they'll be able to spectate you as a ghost (they can still talk in ghost form).
To revive them, you have two options:
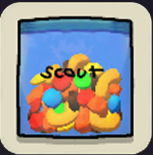
- Scout Effigy: A rare item found in luggage. Use it to bring one dead teammate back to life.
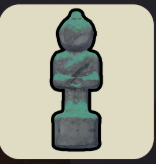
- Ancient Statue: Found at the end of each biome. Activating it revives all of your dead teammates.
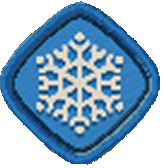
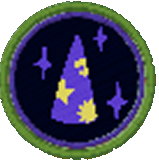
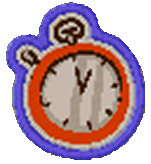
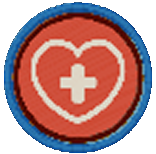
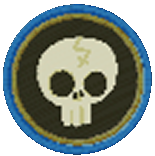
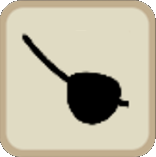
Keep in mind that you'll have a revival debuff in your energy bar after being revived. It looks like this:

To get rid of this debuff, you'll need a Cure-All item.
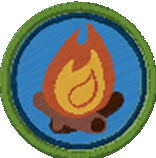
Campfires and Ancient Statues
At the end of each biome, there is a campfire that you must activate to proceed to the next biome. Activating it grants you a morale boost that removes certain debuffs.
At these campfires, you can find a backpack, marshmallows, and a chest with items.
Also, just before reaching the campfire, there is an ancient statue that allows you to revive all dead players or receive a special item if everyone arrives alive.
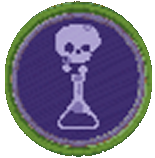
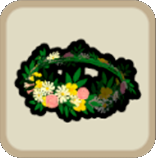
Badges (Achievements) and Unlockable Cosmetics
This is the list of badges (achievements) available in the game. All of them unlock cosmetics for your character and are also displayed on the sash you wear.
Have a friend escape the island without you.
Climb past the Shore.
Climb past the Tropics.

Climb past the Alpines.
Climb past the Caldera

Reach the peak.
Obtained by cooking 20 items at a campfire.
If you are near a campfire with 2 or more people, you receive a morale boost.
Place 10 pitons.

Restore 200 total poison by using items.

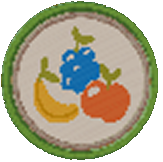
Eat 5 different berries in one run.

Obtain a mystical item.
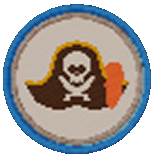
Escape the island in a solo expedition.

Revive 3 scouts in a single expedition.

Escape the island without taking fall damage.
Obtained without placing any equipment on the mountain.

Escape the island in under an hour.
Escape the island with Bing Bong.


Escape the island without eating any packaged food.

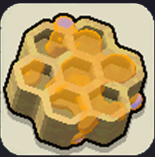
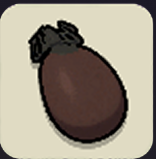
Escape the island after cooking and eating the following items: Half coconut, Honeycomb, Yellow Winterberry and Egg.
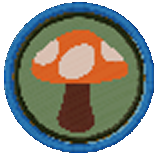
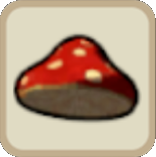
Eat four different non-toxic mushrooms in a single run.
Heal your friends for 100 hp points in a single run.
Escape the island without ever losing consciousness.

Carry the bugle from the plane to the capybara pool in the alpines and play the instrument.

Reach the top of a really big tree in the tropics.


Climb at least 200m ahead of your teammates, and wait for them to appear.

Place or deploy 100m of rope in a single run.
Heal an unconscious friend with an item to save them from death.
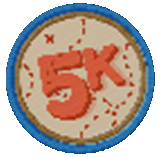
Climb 5,000m in total.
Open 15 luggages in a single run.
Read all of scoutmaster myre's journal entries.

Climb 50m upwards without touching the ground.
Myre's Journal Entries
To unlock the Bookworm Badge in PEAK, you need to find all eight journal entries from Scoutmaster Myre. These entries are scattered throughout the different areas of the island: Shore, Tropics, Alpine, and Caldera.
The journal entries are found in specific locations, usually at the top of areas near campfires.
Once you find and inspect all eight entries, you'll earn the Bookworm Badge and the Broken Glasses cosmetic item.
There are 8 pages in total.
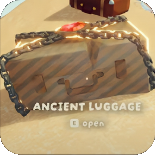
Luggages
Scattered across the island, you can find various luggages containing items and food that will help you during the climb.
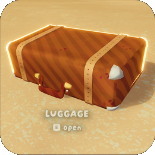
Lowes tier equipment and packaged edibles.
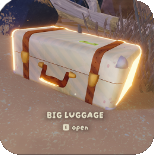
Better equipment than the Luggage
Better equipment than the Big Luggage and possibility for mystic equipment.
Equipment
During your adventure, you will find various items that will help you reach the summit. These items can be found inside the luggages scattered across the island.
Heals HP.
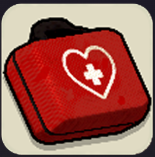
Fully heals HP, burn and poison.
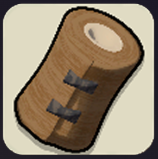
A rope that can be placed on stable surfaces. It has a 12.5m length. Stamina consumption is reduced when you climb it.

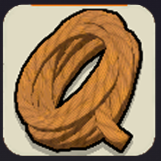
Similar to the rope spool but the rope floats upward.

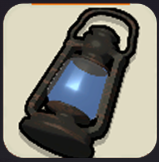
Placed on walls to recover stamina by hanging on them.
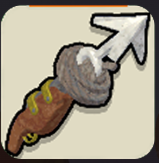
Shoot out a dart that cures all negative status but inflicts heavy sleep.
Shoot a hook attached to a rope to hang from it.

Similar to the rope canon but the rope floats upward.
Shoots a hook and acts as a vine from user position.
Throw it against walls to create a small mushroom platform to stand on it.
Throw it to make it explode and heal users.
Will stick onto any surface to create a tall beanstalk.
Heals poison.
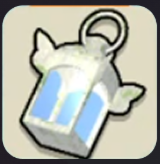
Illuminates dark areas and removes frost from all nearby players.
Slowly heals hp, burn, poison, sleep and frost.
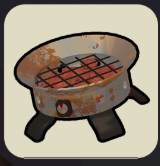
Temporary stove used to cook food. It also cures frost.
Removes and negate frost for one minute.
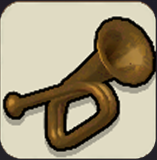
Use with capybaras in Alpine to get the "Animal Serenading badge".

Gives all players infinite stamina while the bugle is played.
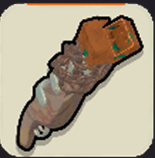
Summons the scoutmaster to "assist" you.
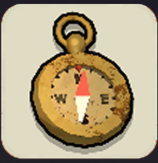
It helps you orient yourself.

Points to the nearest unopened luggage.

Found it inside the plane crashed. Carry it to the peak to get the "Bing Bong badge".
Use it to convert it into a torn page. Torn pages are needed to get the "Bookworm badge".
Revives a dead player at the selected position.

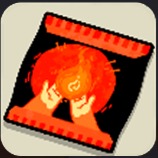
Instantly kills the player but removes all negative status effects from all nearby players, revive all players (except the one who used it) and recover full stamina.
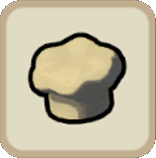
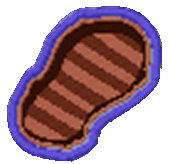
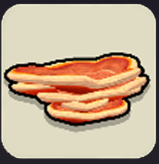
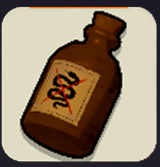
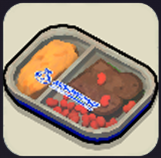
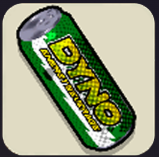
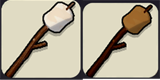
Edibles - Packaged
We can categorize food into three types: packaged, natural, and mushrooms.
Cooking food increases the amount of hunger it restores by 66%. Cooking it a second time removes the bonus, and cooking it a third time burns it. You need a stove or a fireplace to cook food.


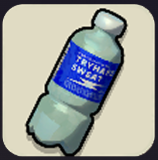
Causes +10 sleep after effect.

Causes +12 sleep after effect.
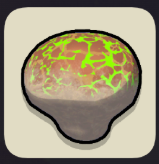
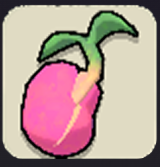
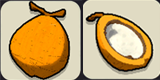
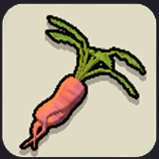
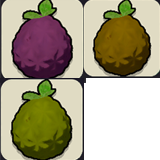
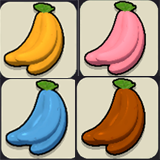
Edibles - Natural
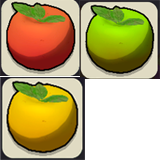
Green: 2
Yellow: 0
Green: 0
Yellow: 4

Yellow: 10
Green: 2
Yellow and Green: 0


This article was originally published on Steam Community.
Last updated: 2024-01-08